Color Correction & Color Grading – Explained

One of the most powerful aspects in video is color. Color, along with a few other very important elements, can create emotion, draw interest in the viewer and transform an otherwise bland image into something much more interesting. You know… that nostalgic vibe you get when watching a show like Stranger Things or that gritty feeling brough on by each passing scene of The Joker.
If you’re an aspiring video professional or simply enjoy doing it as a hobby, you’ve probably experienced the fact that what you see in the real world, doesn’t match exactly what you capture on your phone or in your camera.
Any explanation regarding the why behind this would easily cover a vast majority of color editing theory. You’d hear terms like color correction and color grading quite often. But what exactly do these two terms mean? Are they the same? Are they interchangeable? How can you use these to improve your video projects? Let’s answer these questions in the guide below.
Same Same… But Different
Before we get into the nitty gritty of what actually goes into each process, let’s start with how they’re similar. Both of these processes fully develop in post-production (after the shoot), although whenever possible, your color process should begin before you even start shooting – I’ll explain why later. Now, what makes them different?
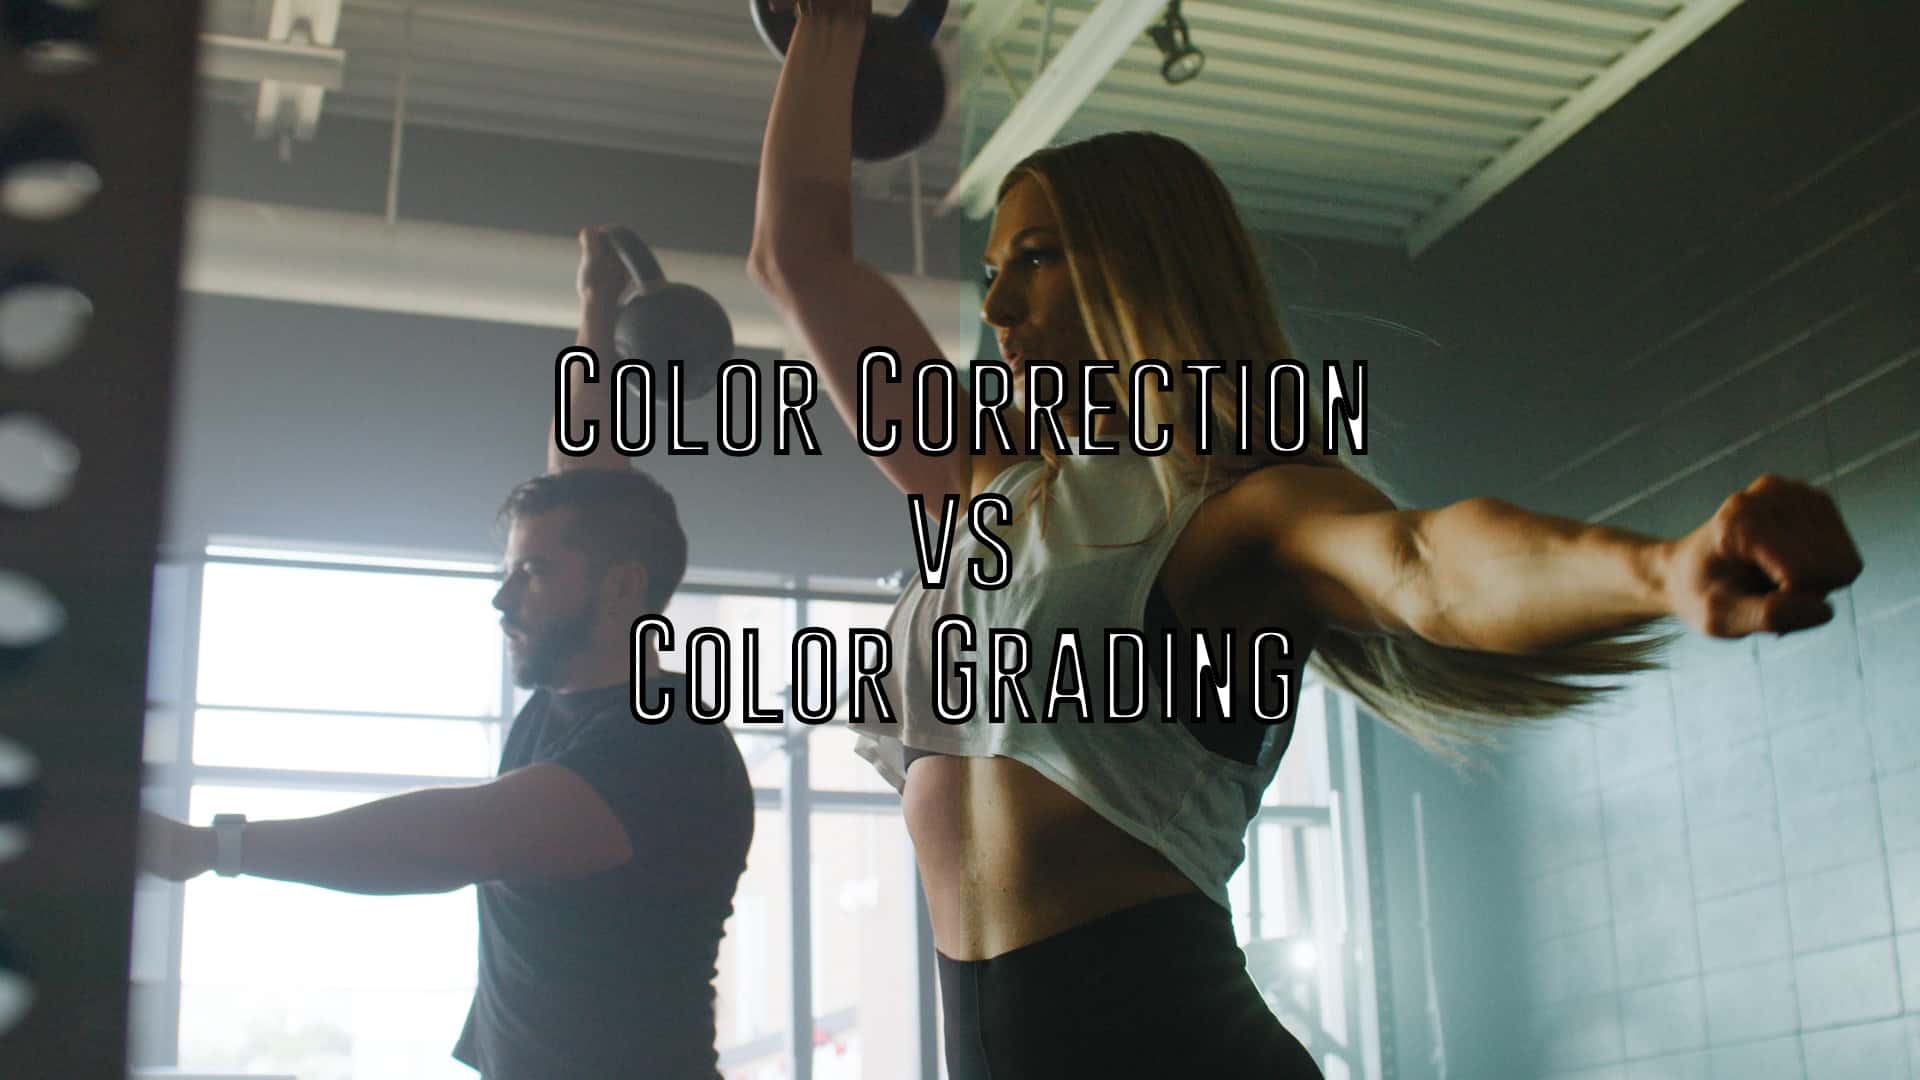
Color correcting is the process of fixing (correcting) colors in a video and balancing them out to look normal and as close to what you captured in real life as possible. Color grading is the process of stylizing that normalized footage and giving it a unique or artistic look.
That’s it. That’s how simple and basic the difference between the two is. Often the two are (incorrectly) used as interchangeable terms, but the difference between them is quite important.
Ok, so let’s go a bit deeper.
COLOR CORRECTION
I’m starting with this because once you’re in post-production and ready to color your footage, this is your first step.
Once you have finished editing your video and have picture lock, you’re going to want to make sure of three things. First make sure your video is in a proper display space. This means that if you shot your video on a camera with LOG capabilities, you need to convert it to Rec709. If you shot your video on a cellphone or with regular camera colors you don’t need to worry about this step. Then you will want to balance each shot to look “normal”. Make sure the whites are white, the blacks are black, and your contrast and saturation levels are pleasing.
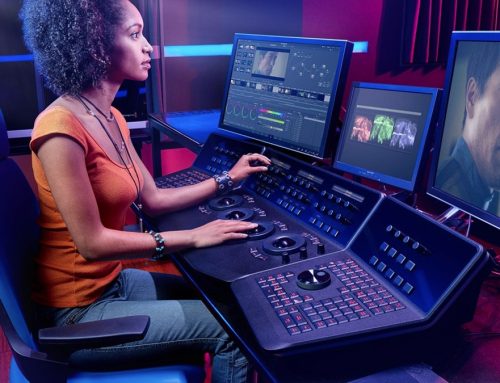
I like to monitor what I’m doing with scopes. Our eyes can trick us depending on our editing environment, display calibration can vary (but it shouldn’t! Learn how to calibrate your displays), even how tired we are can have an effect on how we perceive colors in our footage. This is where scopes come in. Learning how to read these diagrams will help you make more accurate decisions when correcting and grading your footage

Log Footage

Converted to Rec709

Corrected
Next, you have to make sure that that every shot in each scene matches one another. This is probably the biggest task of the two as you might have footage from different types of cameras, different lighting, etc.
See how all these shots have the same white balance, exposure and contrast levels


I like to monitor what I’m doing with scopes. Our eyes can trick us depending on our editing environment, display calibration can vary (but it shouldn’t! Learn how to calibrate your displays), even how tired we are can have an effect on how we perceive colors in our footage. This is where scopes come in. Learning how to read these diagrams will help you make more accurate decisions when correcting and grading your footage.
COLOR GRADING
This is the step in color where you get let your creative juices fly. Here you create your video’s aesthetic and feel. This is entirely an optional step, however. Some people feel like the look they get from their cameras, once color corrected, is more than good enough. That being said if you REALLY want to convey a certain mood or visual tone to enhance your narrative, color grading is an excellent tool to do so.


If you’re just starting off into the color world or if you’re a videographer wanting to get some awesome looks on your videos quickly, then you’ll likely start by implementing premade LUTs by other colorists in your workflow. Eventually, I would suggest trying to take color into your own hands, and develop your own looks as you go.
Color Grading and creating looks for video is arguably one of the hardest things to do, in my opinion. I say this because it is largely a subjective art. You could grade on shot in 100 different ways and covey completely different emotions. It’s also very easy to take it too far. However, grading, is ultimately an artform. So if you (and your clients) think it looks great and fits the concept, then that’s a win!
CONCLUSION
As you can see, it’s not really a matter of one vs the other, rather how to they complement each other. Like everything else, there are multiple ways of tackling these tasks. I personally use Davinci Resolve and one of the ways I make my color work easier is by thinking about color during pre-production and the actual shoot as well. We’ll be talking about a basic color correction and grade workflow soon, so make sure you check in if you want to learn a few tips and tricks to make your videos pop!


Leave A Comment